
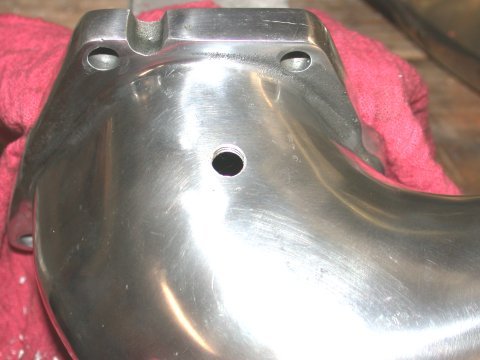
If you have a Apexi PowerFC installed you are well aware of intake temperatures and how they vary, or more specifically how hot they can get. From a performance perspective the hotter the intake charge the lower the power and possibly the life of the motor. All can be helped by better cooling of the intake charge, cooler air through the intake, etc. The issue I'm trying to address here, however, is with the air intake sensor itself and how well it actually measures intake air temperature. As a key parameter dictating engine performance one would think it to be a highly sensitive fast reacting sensor. Unfortunately this is not the case. An engine left to heat soak at a stop light will result in a very high air intake temperature. When leaving the light "briskly" air intake temperatures drop rapidly. So why does it take so long for the *indicated* air intake temperatures to drop? Part of the reason is the actual location of the sensor. Not much can be done about the responsiveness of the sensor itself but it can be helped to "see" the real...actual air intake temperature (AIT) by moving it. Mazda, for whatever reason, chose to mount the AIT sensor in perhaps the hottest part of the intake tract. That is, on the underside of the Upper Intake Manifold (UIM) downstream of the throttle body. This results in heatsoak of the sensor itself and thus a time lag before it will indicate actual air intake temperatures. So lets move the sensor to where it's not so hot!
For this exercise the intake must be dissasembled to the point where the UIM is completely removed from the car. Follow the factory service manual (FSM). With the UIM off simply unscrew the AIT sensor and plug the hole with a short M10 bolt (I cut the end off with a hacksaw). Use some thread sealant to assure no vacuum leaks.


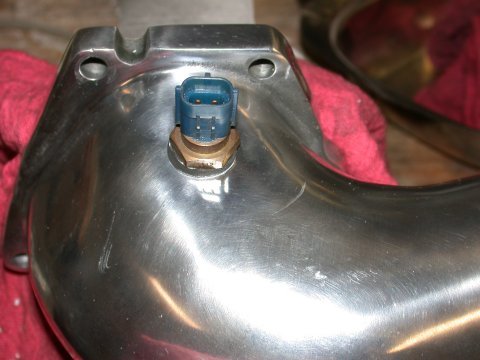
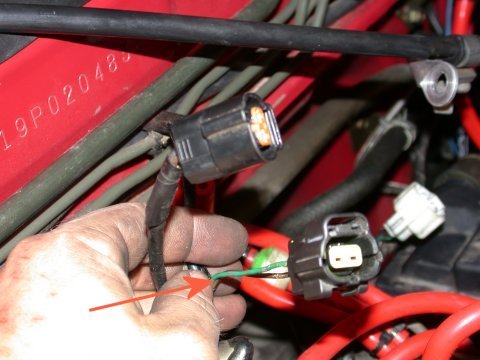
With the sensor in it's new home all that remains is to lengthen the existing wiring harness. Cut off the connector and splice in the added length of new wire, solder all connections, seal the connections with heat shrink, wrap well with electrical tape to avoid heat damage, and run the wiring. Nothing new here.
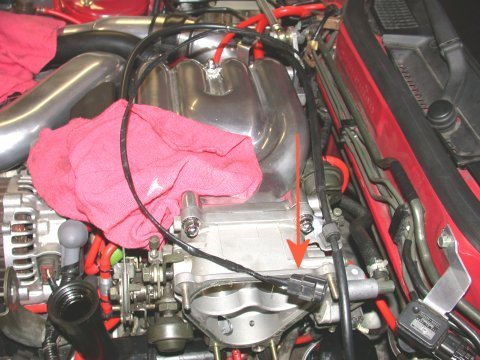
With all that said and done I can hope to see a better indication of air intake temperatures and hopefully have a happier cooler sensor.

TRIPLE-R
MAIN PAGE
GENERAL
OVERVIEW | THE
HEART OF THE BEAST | STOPPING
AND TURNING | THE
COMFORT ZONE