
One thing to consider as a general rule when considering aftermarket body parts is the cost of finishing and painting will be at least as much as the cost of the part itself. If the part has some damage or needs to be installed by a professional shop the cost can be more than double. Also it is easy to install a body part and do it for a couple hundred bucks but to do it properly can cost much more. I could have easily done a bit of hand sanding and run to the local autocrats store for some spray cans of paint and painted my hood for under $100 and it would have been "passable" barely...but passable. Dan at Mr Spoiler told me many a story of the "kids" that come to his shop asking him to do paint work for the $200 whole car body kit they got for a steal and watching the "kid" almost pass out when they learn how much it will cost to finish and paint the parts. So the "kid" goes to the "discount" auto body shop around the corner and has them install it and paint it and comes back to Dan asking why drywall screws (no kidding!) have been used to attach the side skirts or why the nose piece is flexed and torqued on the car or why the paint on the fiberglass has spider web cracks in it after only driving the car for a week. In short, you get what you pay for. But I digress. I picked the car up from the shop and it looked terrific. The underside of the hood had been treated to the same care as the topside. The corners had been rebuilt and the seams had been repaired and refinished. They spent much more time on it than I was billed for because as Dan told me, he enjoys working on custom parts when it is clear the car is worth it. Yippeee for me :-)
The Finished Product
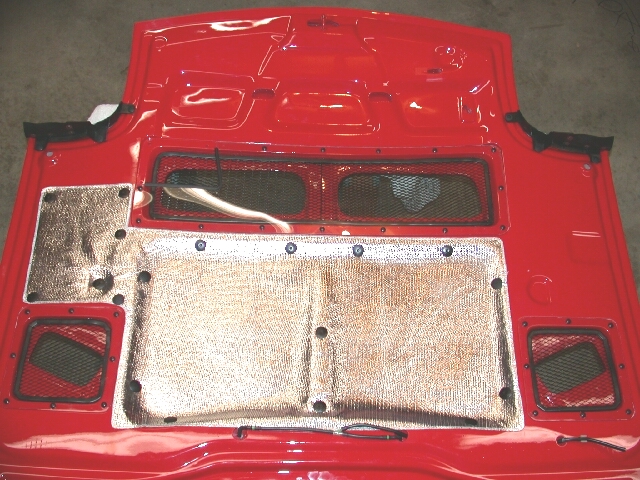
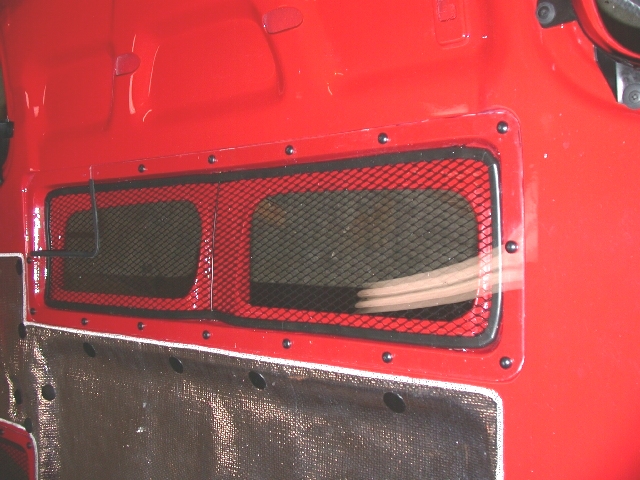
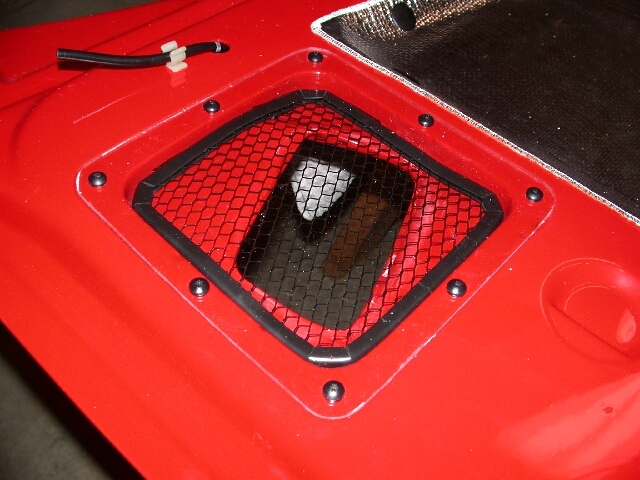
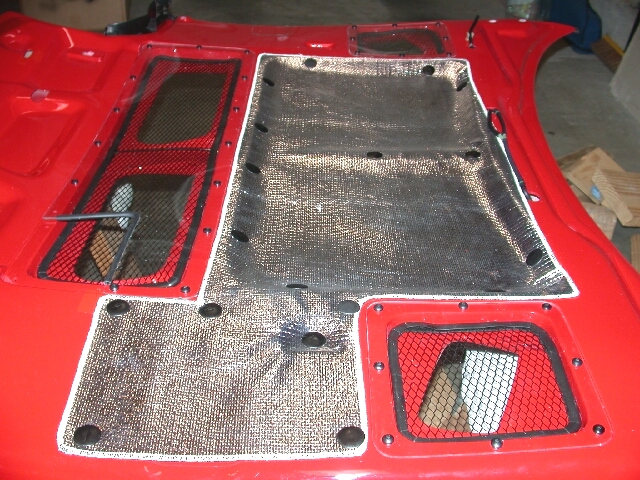
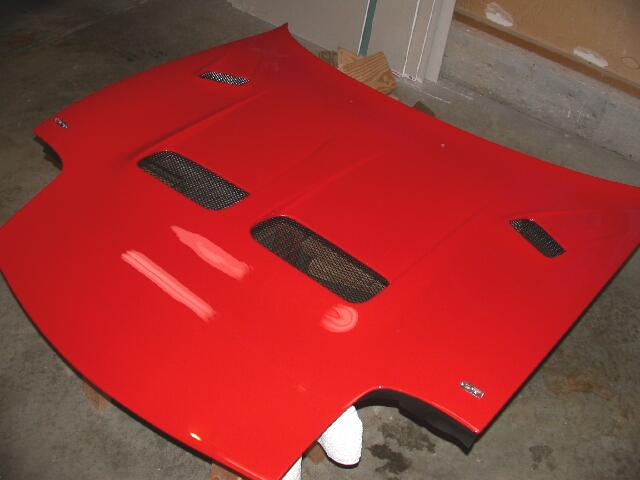
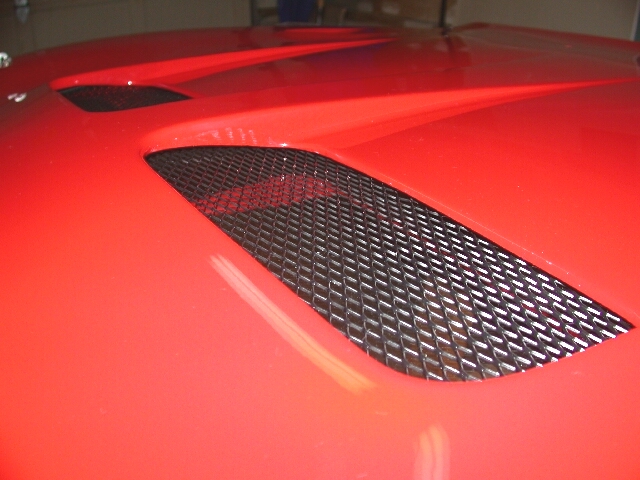
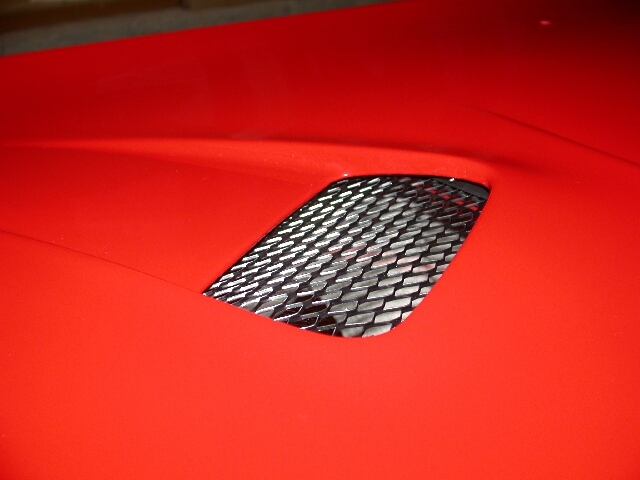
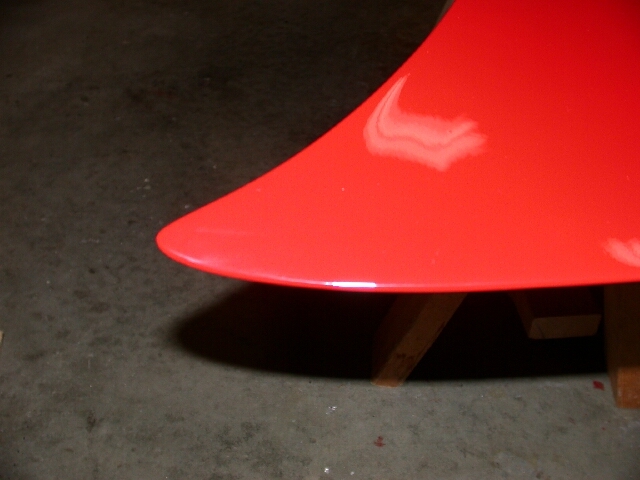
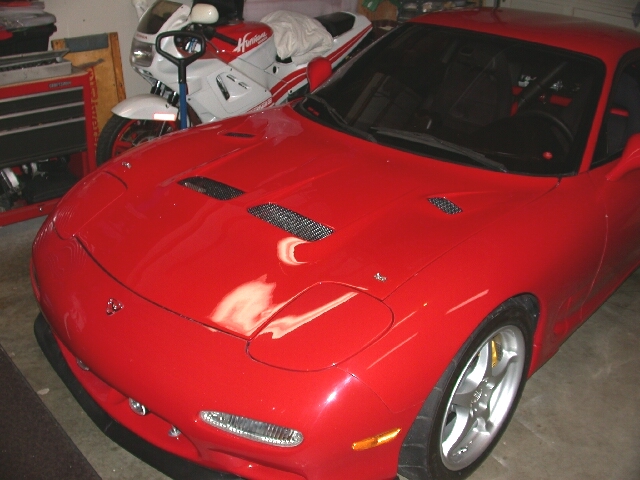
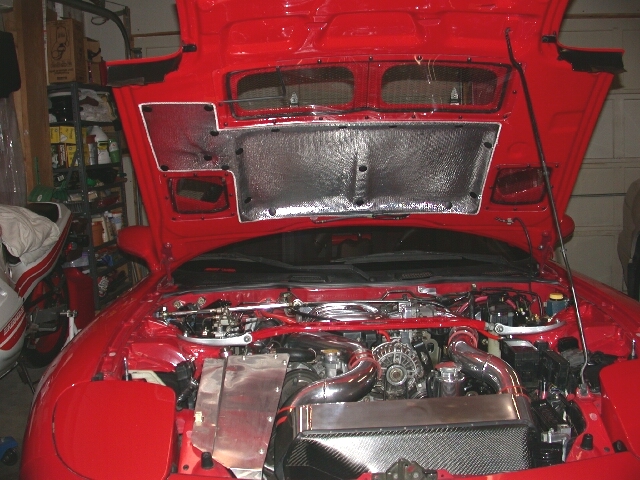
So now it is done and fitted to the car...complete. Not much else to say but to let the pictures speak for themselves. I Specifically requested that equal attention be paid to the underside of the hood as the topside. I dare say the underside looks better than the topside! Captions are noted.


Initial Fitment and Review: Part 2
Making
the Ancillaries and Prepping for Painting: Part 3
7-UP CLUB
MAIN
OUR "LOCAL7"
COMMUNITY | THE
WORLD OF THE RX-7
This page last updated November 25, 2002