
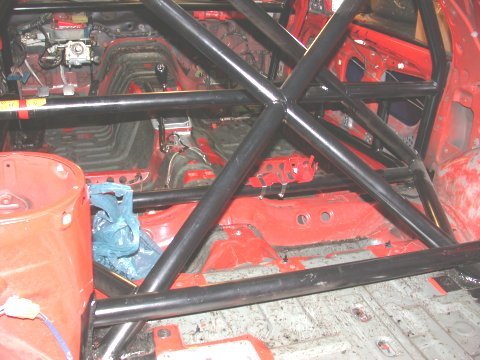
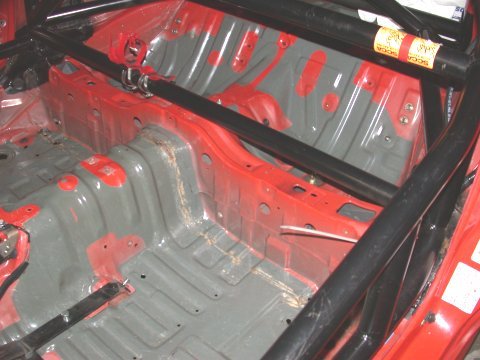
So there it was, a stripped down to the bare shell (almost) chassis sitting on 4 jackstands in my garage. No parts to install..no rust to repair...nothing really to do. Or so I thought. Weight as we all know is the root of all evil on the track. Get the car as light as you can and you will go faster. How simple can it be? Until it comes to getting rid of the weight. Back to the carcass in my garage. Seems as if cushy street cars have a little extra poundage that can be removed in the form of sound deadening material. Don't need THAT stuff in a racecar! Lets get rid of that. Easier said than done. Sound deadener is basically a 1/8 inch thick tar mat that is draped over most of the lower interior surfaces of the car under the carpet. It is applied hot so sticks to the metal it is applied to. It not only protects the metal but reduces vibration and noise to the cockpit and occupants...and is a royal PITA to remove. Two trains of thought on how to get rid of the stuff 1) heat it and scrape it off as a gooey mess or 2) freeze it and hammer and chip it off. I chose the latter approach. This is an ugly ugly job to do and is very time consuming. Typically, the best approach is the buy dry ice and cool the tar based sound deadener so that it becomes so brittle it can be hit with a hammer and cracks off the chassis. Lucky for me where I live it was only in the high teens to low 20's for a period of time (Mid-January) so who needs dry ice....if you can handle working in the cold! After about 12 hours of chipping away at the sound deadener its all gone to the tune of about 20 Lbs of weight savings. Thsi includes all the tar based deaneder on the firewall. Some work with brake cleaner to clean up the remaining residue and the interior actually looks pretty decent, like a sponsored race car!
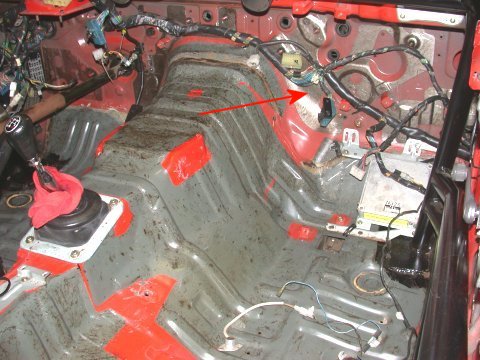
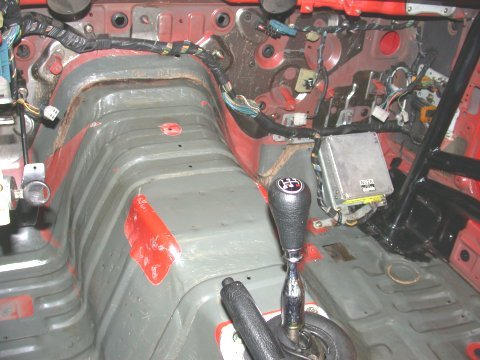

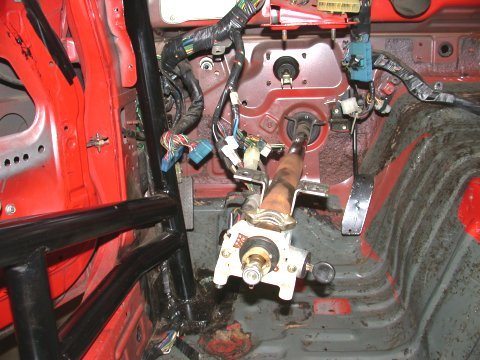
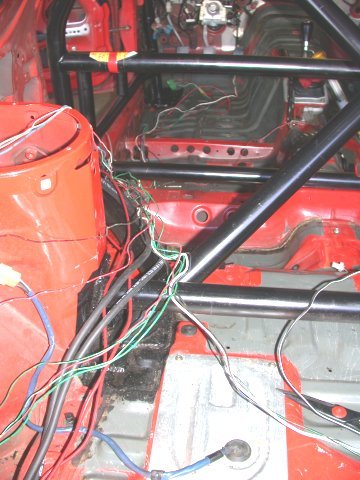
| There was one more thing I wanted to tackle and that was a bit or wiring simplification. Nothing really to be gained here other than peace of mind. The rear half of the car has but two electrical demands - juice for the fuel pump and juice for the tail lights. So why is the wiring bundle two inches in diameter? How about wires for the sound system, the hatch defroster, seat belt warning stuff, and a few other minor loads. So with an hour or so to spare I split the rear harness removed all but the essential wires and wrapped it back up. There was negligable wright savings but a harness that now makes sense and will certainly make things easier when it comes time to trace any electrical maladies. And before you ask I am not masochistic enough to try this on the front main wiring harness. Although I'd like to it simply is too much. |
 |
|---|
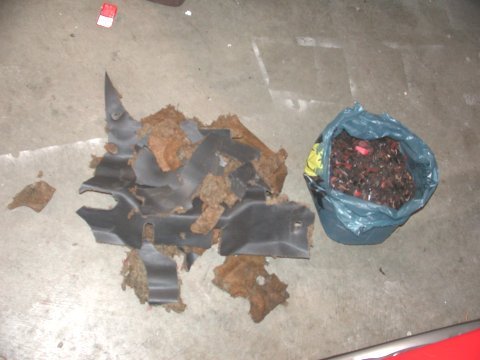
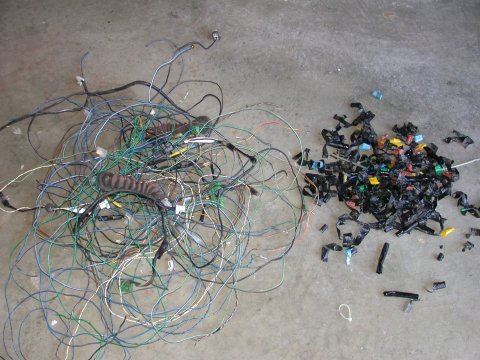
30 pounds od dead weight (it was actually enough to fill two bags). Removed wiring - about 3/4
of the entire bundle.
7-UP CLUB
MAIN
OUR "LOCAL7"
COMMUNITY | THE
WORLD OF THE RX-7
This page last updated April 12, 2004